
How to Fix Drywall After Removing a Wall
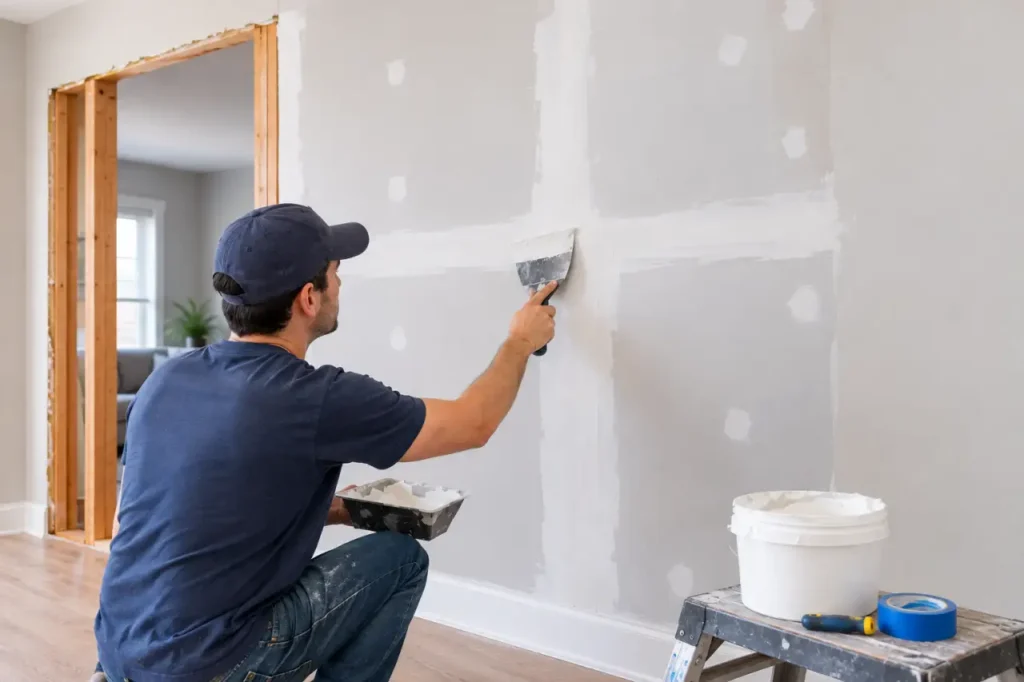
Removing a wall can make a room feel larger and more open, but the work often leaves behind a messy ceiling, damaged drywall edges, and gaps where the wall once stood. You might also find exposed framing, uneven surfaces, or flooring that no longer matches the rest of the room.
The challenge is making these areas look natural again. Simply filling the gaps with joint compound won’t provide a lasting repair if the drywall lacks proper support or the joints aren’t taped correctly.
Whether you’re updating a living room, opening up a kitchen, or combining two smaller spaces, knowing how to repair drywall after wall removal can help you avoid common mistakes and achieve a cleaner finish.
Why Does Drywall Get Damaged After Removing a Wall?
When a wall is removed, it often leaves a long gap in the ceiling where the top plate and wall framing once sat. Drywall attached to the old wall may also tear or break during demolition.
Common problems include:
- Ceiling gaps: Missing drywall exposes framing or leaves a long opening.
- Rough edges: Torn paper and broken gypsum create uneven surfaces.
- Visible seams: Poorly finished joints appear as lines after painting.
- Texture differences: Smooth patches stand out against textured ceilings.
- Paint mismatches: Fresh paint may look different from the existing surface.
- Flooring gaps: Tile, hardwood, or carpet may be missing beneath the former wall.
Identifying these issues before starting repairs helps you choose the right materials and avoid redoing the work later.
Tools and Materials Needed for Drywall Repair
Gather your supplies before beginning the repair. Having everything ready makes the process easier and reduces interruptions.
You’ll generally need:
- Drywall sheets that match the existing thickness
- Drywall screws and suitable backing material
- Joint compound and drywall tape
- Utility knife and drywall saw
- Measuring tape and straightedge
- Drywall knives in different widths
- Sanding block or drywall sander
- Drywall primer and matching paint
- Dust mask, eye protection, and drop cloths
The size of the damaged area determines how much material you’ll need. A narrow ceiling gap may require only a small drywall strip, while extensive damage could call for larger replacement sections.
Before cutting into walls or ceilings, check for electrical wiring, plumbing, and other hidden services.
Step-by-Step Guide to Fixing Drywall After Removing a Wall
1. Inspect the Opening and Prepare the Area
Start by examining the entire area where the wall stood. Look for loose drywall, damaged edges, exposed framing, and cracks extending beyond the demolition line.
If the removed wall was load-bearing, make sure the required structural work has been completed before covering anything. Drywall repairs cannot correct an unsupported beam or an unsafe framing alteration.
Protect the floor and nearby furniture with drop cloths. Remove loose material and mark the sections that need replacement. Cut away ragged drywall edges carefully, checking for hidden services before making any cuts.
2. Install Backing for the New Drywall
New drywall needs firm support along its edges. Without proper backing, the patch can flex when pressure is applied or when the building moves, causing cracks along the finished joint.
Depending on the existing framing, you may need to add wood blocking or other suitable support. This is especially important when repairing a long ceiling opening.
Check that the backing sits at the correct height. If the new drywall is higher or lower than the surrounding surface, the difference can remain visible even after several coats of compound.
3. Cut and Attach the Drywall Patch
Measure the opening and cut a replacement piece to fit. Match the thickness and type of the existing drywall whenever possible.
Secure the patch to the framing or backing with appropriate drywall screws. The screw heads should sit slightly below the surface without breaking through the paper.
Avoid forcing a patch into an opening that is too small or leaving large, unsupported gaps around it. A properly fitted piece makes taping and finishing much easier.
For a ceiling repair, check that the new section is firmly supported before moving on.
4. Apply Drywall Tape and Joint Compound
Once the patch is secure, cover the seams with suitable drywall tape and joint compound. Tape reinforces the joints and helps prevent cracks from developing along the repair.
Paper tape is commonly used for standard drywall joints. Mesh tape can also work when paired with a compatible compound and installed according to the manufacturer’s instructions.
Spread a thin layer of compound over the joint, embed the tape, and remove excess material with a drywall knife. Make sure the tape lies flat without bubbles or loose edges.
Allow the compound to dry or harden as directed before applying the next coat.
5. Feather the Edges to Create a Smooth Surface
This step often determines whether the repair will blend in or remain visible.
Apply additional thin coats of compound, extending each coat farther beyond the previous one. Gradually blending the repair into the surrounding ceiling or wall creates a smoother transition.
Avoid piling compound directly over the seam. Doing so can create a raised ridge that becomes obvious under natural light.
After the final coat dries completely, sand the surface lightly. Use a work light held at an angle to reveal small bumps, dips, and scratches before painting.
6. Match the Existing Wall or Ceiling Texture
A smooth patch can stand out against a textured ceiling, even when the surface is level.
Look closely at the surrounding finish before choosing a repair method. Orange-peel, knockdown, and other textures require different application techniques.
Test the texture on a scrap piece of drywall first. This helps you adjust the compound consistency and application method before working on the actual ceiling.
If matching the existing texture proves difficult, skim-coating a larger section may produce a more consistent appearance. Older textured surfaces should be assessed for hazardous materials before scraping or sanding.
7. Prime and Paint the Repaired Area
Once sanding is complete, remove dust from the surface and apply a suitable drywall primer. Fresh compound absorbs paint differently from an already painted wall, so skipping primer can leave a dull or uneven patch.
After the primer dries, apply the finish paint using the same sheen as the surrounding surface.
Even paint from the same color range may not match perfectly because the existing paint can fade or collect dirt over time. For large repairs, repainting the entire wall or ceiling from corner to corner usually produces a more uniform finish.
Common Problems After Drywall Repair
Some issues appear only after the compound dries or the paint goes on. Knowing what causes them can save time and effort.
- Visible lines along the old wall location: These usually result from uneven finishing or insufficient feathering. Apply a wider, thinner coat of compound and check the surface under angled lighting.
- Cracks along the repaired seam: Unsupported edges, loose drywall, or poorly bonded tape may be responsible. Correct the underlying problem before retaping and refinishing the joint.
- Paint that looks different: Uneven absorption, mismatched sheen, or aging paint can make the repair stand out. Use drywall primer and consider repainting the entire surface.
- A noticeable texture difference: Paint won’t hide differences in surface texture. Recreate the existing pattern or refinish a larger area.
- Gaps beneath the old wall: Missing flooring requires a separate repair. Depending on the material, you may need replacement boards, matching tiles, or a suitable transition strip.
How Long Does Drywall Repair Take?
A small drywall patch may take a day or two to finish, depending on drying conditions. Repairing a long ceiling seam can take several working sessions because joint compound needs adequate drying or hardening time between coats.
The overall timeline depends on the amount of damage, the condition of the framing, the existing ceiling texture, and the painting required.
Avoid rushing the process with excessive heat or strong airflow. Follow the compound manufacturer’s drying instructions to reduce the risk of cracking and poor adhesion.
When Should You Hire a Drywall Professional?
DIY repairs can work well for small openings with sound framing and straightforward finishes. Larger repairs may be more challenging, especially when the ceiling is textured or natural light makes every surface imperfection visible.
Consider professional help if the repair involves extensive ceiling damage, recurring cracks, uncertain structural support, or a finish that must blend across several connected surfaces.
It’s also worth arranging an inspection if you notice sagging, signs of structural movement, or damage around electrical and plumbing services. These problems need attention before the drywall is closed.
Conclusion
Repairing drywall after removing a wall takes more than filling a gap and applying paint. Proper backing, secure drywall installation, reinforced joints, careful sanding, and suitable primer all contribute to a lasting finish. Don’t overlook ceiling texture, paint differences, or the flooring exposed beneath the old wall.
Taking time to prepare the area and correct problems before painting can prevent visible seams and repeated repairs. If you need help restoring damaged walls and ceilings, contact Getz Handyman for professional drywall repair in las vegas and get your space looking clean and finished again.